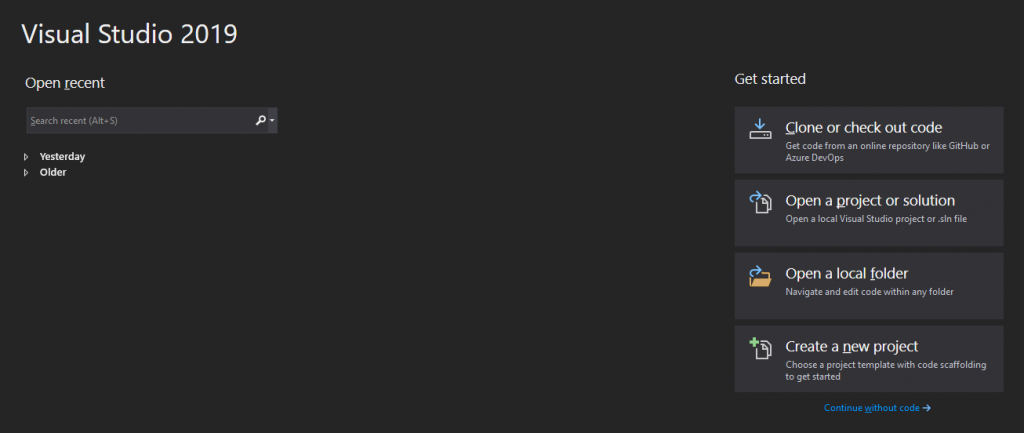
This post will cover the step-by-step guide for you to manage account settings in Visual Studio 2019. It can be helpful to a new user who needs to reenter their credentials or check for a updated license.
As you may know, Visual Studio comes in three flavors:
- Community;
- Professional;
- Enterprise.
Some of them require you to buy a license to make use of all its features. This post won’t cover that, but it’s valid to mention it if you don’t know it.
Navigating to the window to manage accounts in the IDE
First, open your Visual Studio and in the initial screen, click on Continue without code:

Next, locate the button right in the topbar which shows the initials of the user account configured previously. If none, this option will look a little bit different. Click in it!

After clicking, select the option Account settings…

Managing your account settings in Visual Studio 2019
Once you reach the Account settings screen, you can do these options:
- Personalization Account: here is where you can reuse settings across devices like the theme, for example. Also all personalized services will be applied to this instance of Visual Studio automatically based on your account. You can sign out from this account and select another one as you please;
- All Accounts: this is where you can add additional accounts to work with multiple accounts;
- License section: here you can check for an updated license and legalize your Visual Studio. If not , Visual Studio will keep asking for a valid licensed account or it will close automatically.

That’s all for today! I hope this post was able to teach you on how to Manage account settings in Visual Studio 2019. Also you can check other posts related to Visual Studio in my blog too!


Leave a Reply