This blog post will guide you on how to Setup ADFS to secure Web API accessed with Angular. The Angular SPA was built in Angular 6 and the Web API is an ordinary .NET Framework Web API that will be secured by our ADFS 2016 implementation. The project implementation will be covered in another post.
The purpose of this post is to provide a step-by-step guide on how to setup the ADFS settings for our needs just like Microsoft and the community did in a post about Building a single page web application using OAuth and ADAL.JS with AD FS 2016.
But if you would like how to implement it in your project, coding and all the stuff, just check our post on Accessing ADFS-secured Web API via Angular SPA.
Setup ADFS Application Group for solution
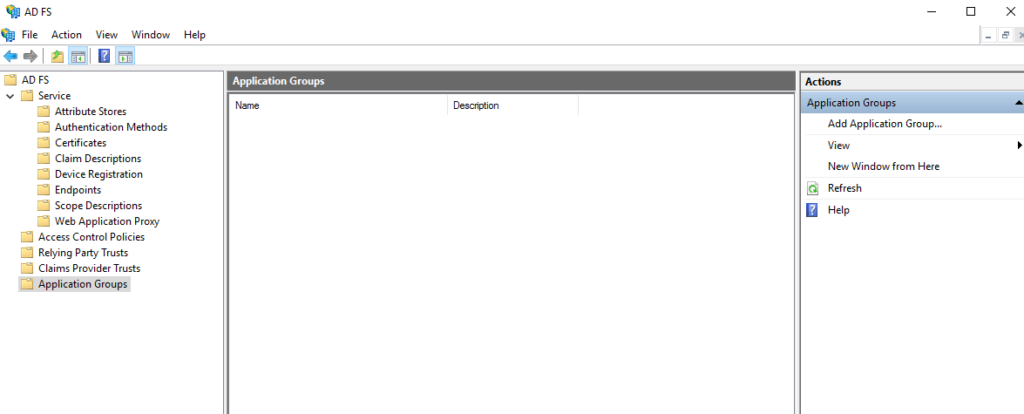
First of all, let’s open or AD FS admin and select the Application Groups section:
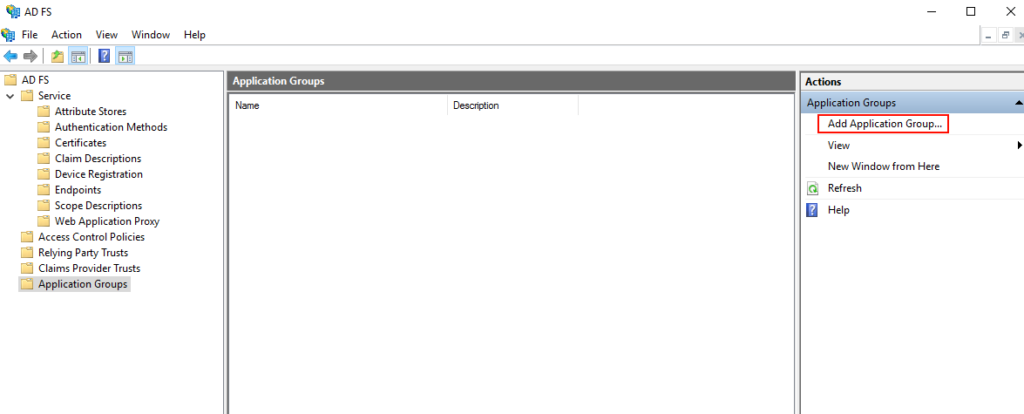
Then right after, select the Add Application Group… button:
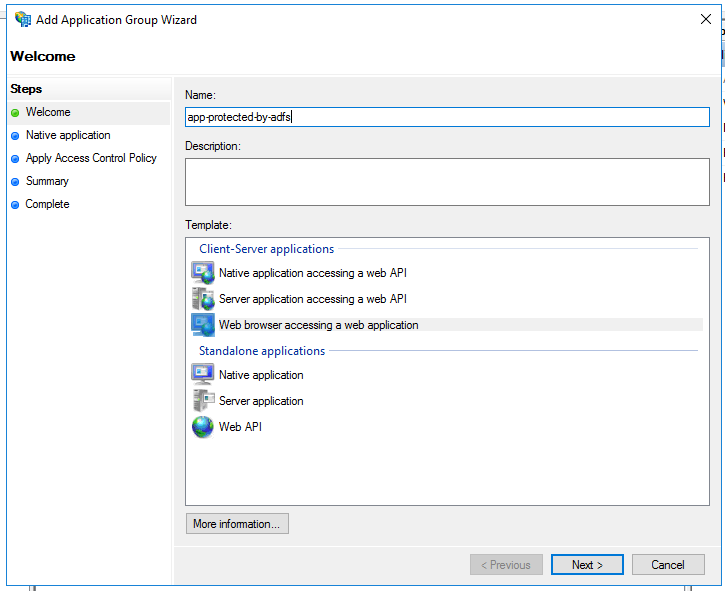
A new window will be opened. Just type the Name of our fresh new Application Group as you like and select Web browser accessing a web application. Hit next!
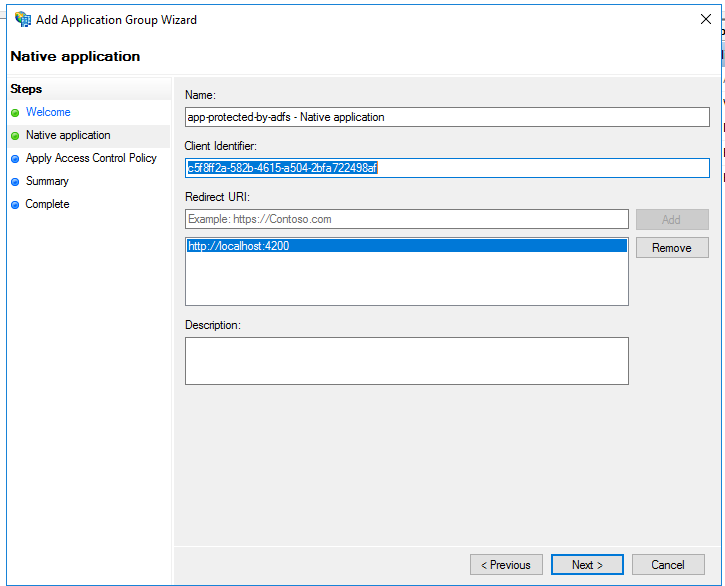
A new Client ID will be generated for us. You can change it, but it’s not necessary. Just copy the GUID-like value and paste it to somewhere safe. It will be necessary later!
Inside the Redirect URI section, add all the URLs for our client application. In my case I’ve just added the local development environment URL for our Angular application:
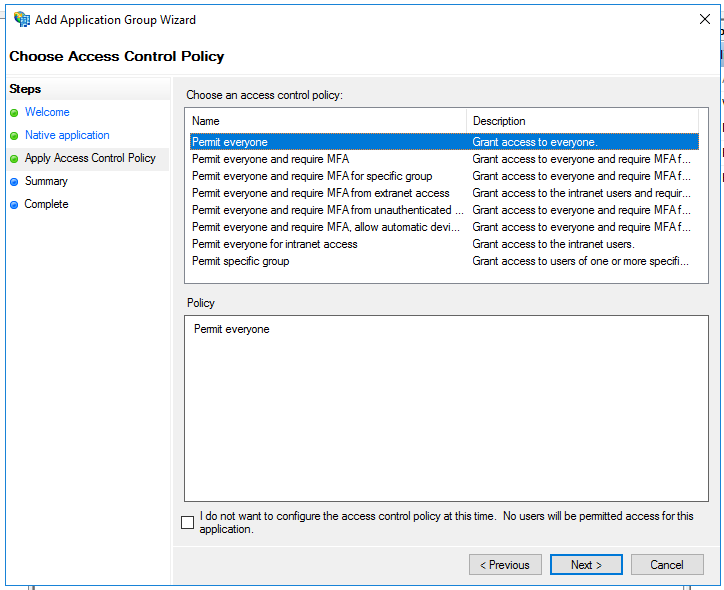
In the next window I just select the Permit everyone option and hit the next button:
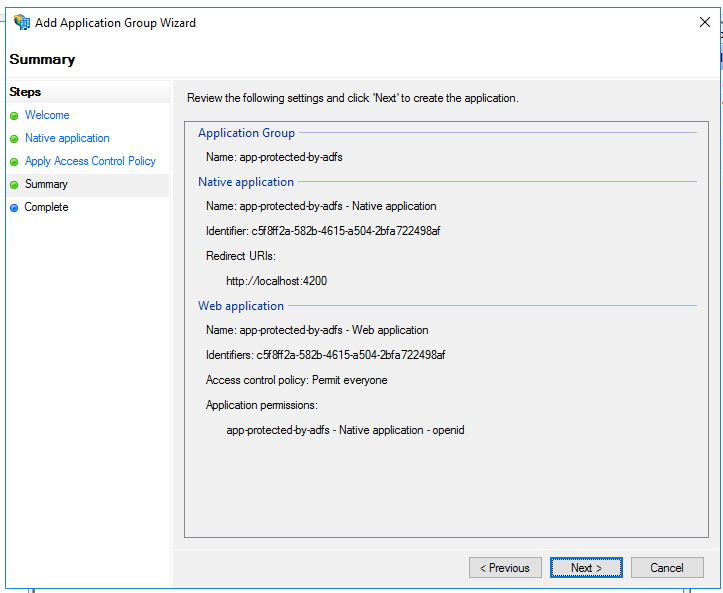
After doing all these step, we can review our settings. Just click Next and the Application Group will be created!
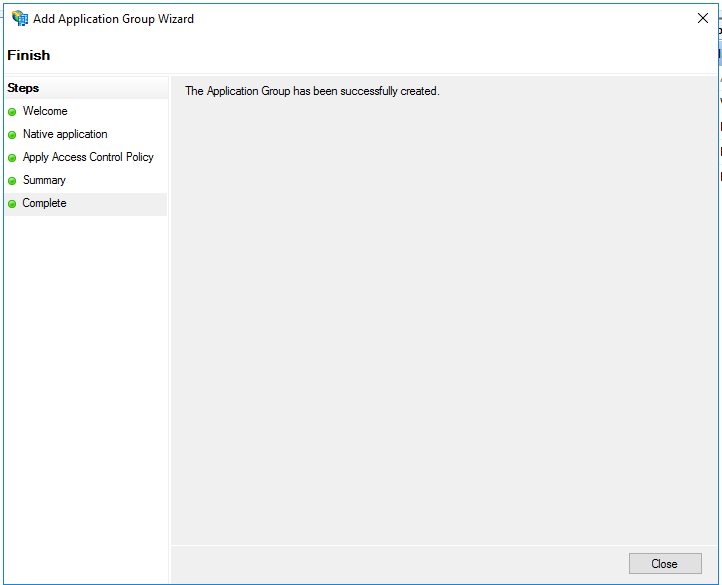
Once the success message appear, you can click Close to return to AD FS initial window.
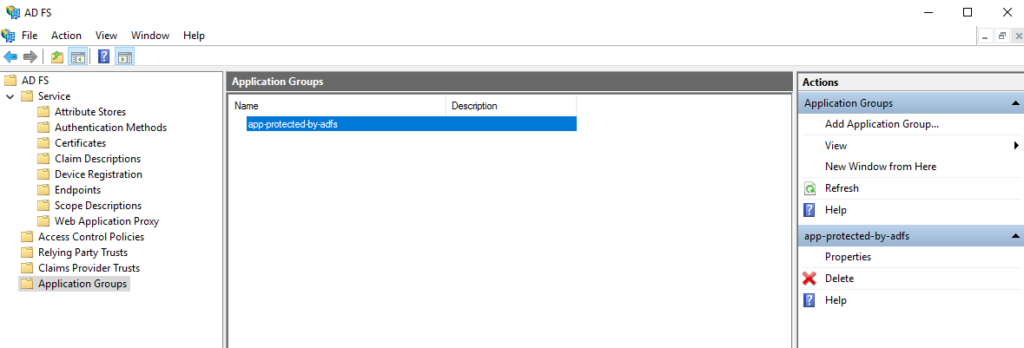
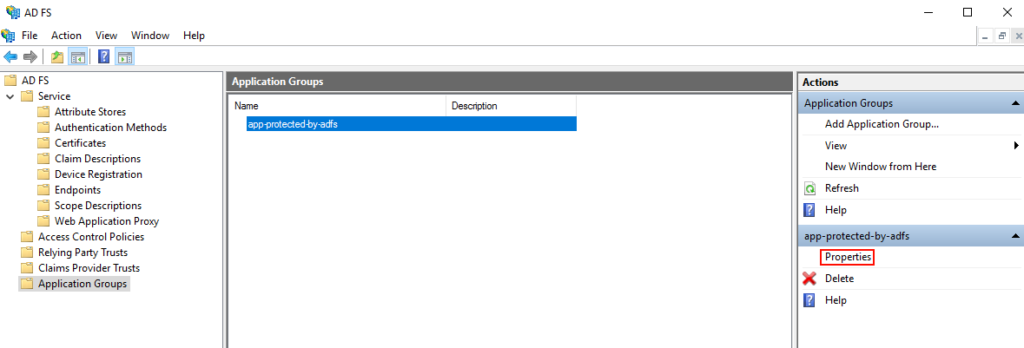
The new application group will be listed on the interface where once there was no Application Groups:
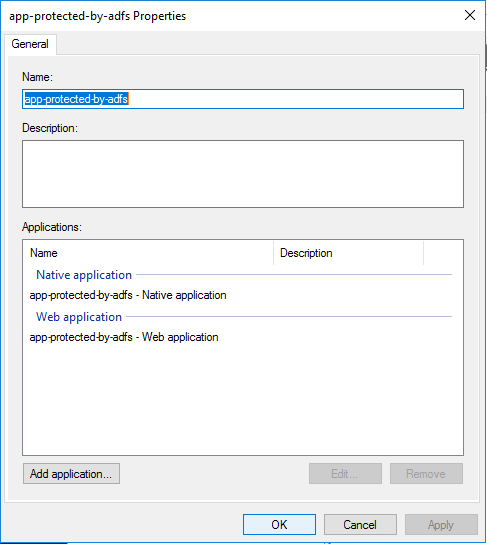
Now let’s check the Application Group properties. Select the Application Group you want to configure and click on Properties:
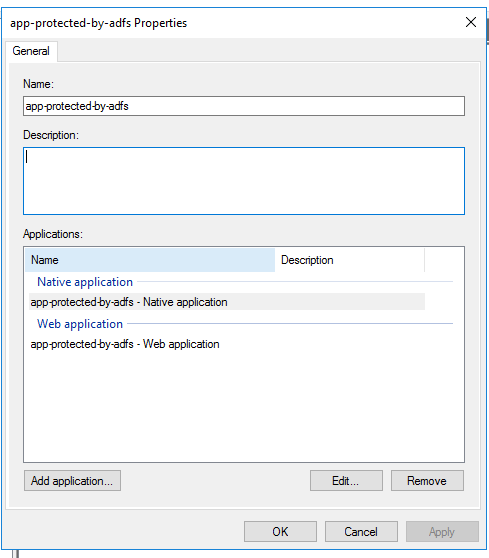
A new window will appear with our Application Group and two Applications, one for our Client App (Angular) and other for the Server (Web API). Both were created during the Wizard that we’ve done just a few moments before.
For now, just select the Native Application and click Edit:
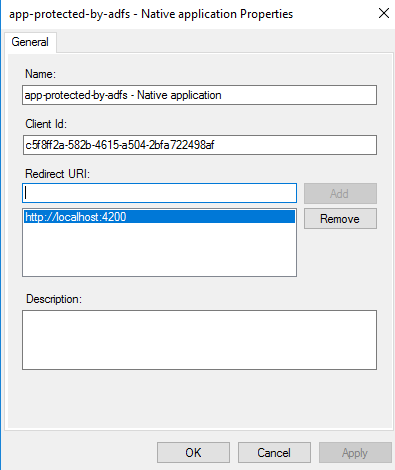
Here you can see the Native Application with its Client Id and the Redirect URIs we used before. Just click OK or Cancel to go back:
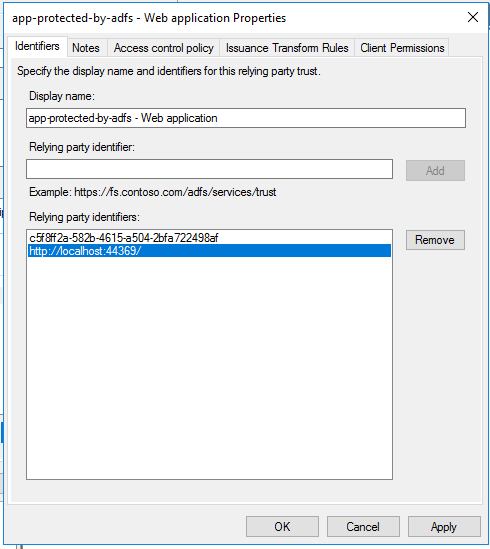
Now we can select the Web Application to allow us to add some additional configurations:
Configure the Web API to be accessed via JWT with Angular
For the Web API properties we just ensure that the Client Id that we’ve got before and the URIs for our Server Application will be listed as Relying party identitifiers:
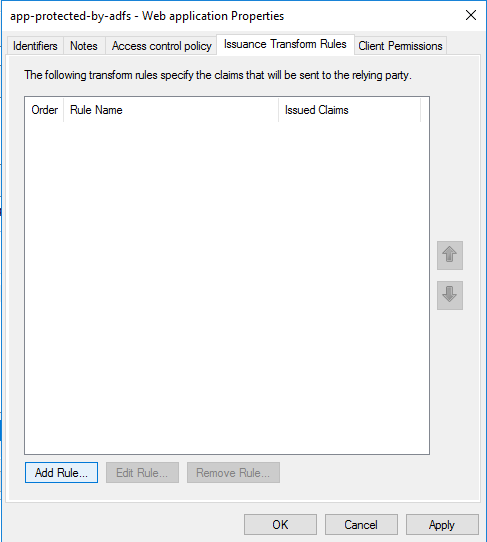
You can keep the Notes and Access control policy tab as they are. Let’s just head to the Issuance Transform Rules tab which will be empty! Once you can see the windows like the image below, just click the Add Rule button:
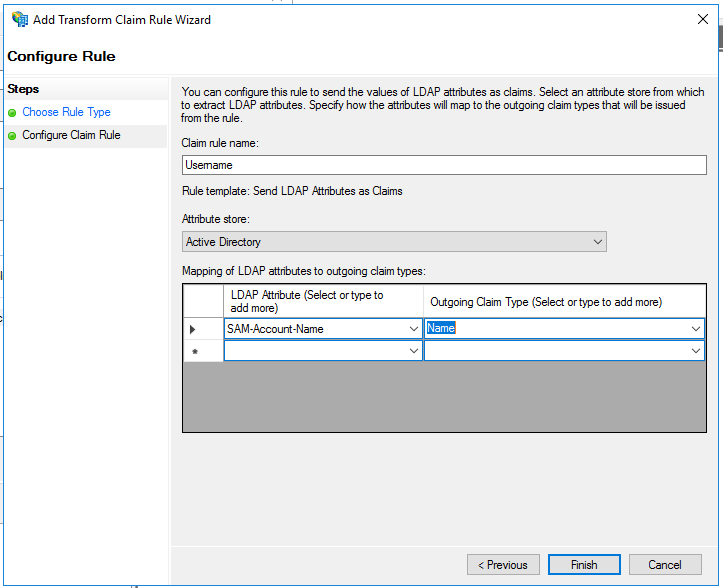
Select the Send LDAP Attributes as Claims and click Next:

In the next window, you can give a name for our new Rule and select which Attribute store will provide the claims for us.
In the example, I’ve just created a simple rule that gets data from Active Directory and sends the SAM-Account-Name as the Name claim:
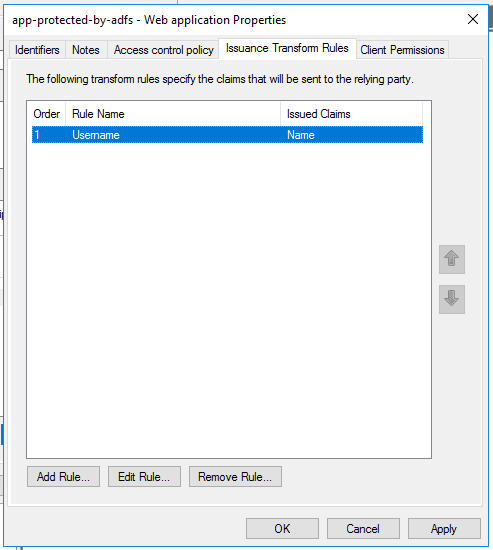
The new claim rule will be presented as follows:
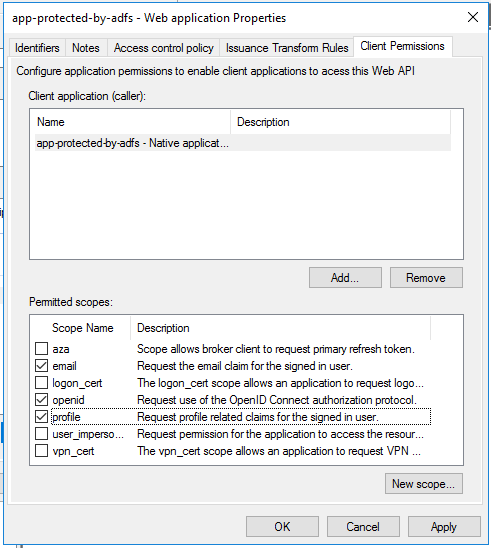
At last we must review the Client Permissions. For our case we’ve selected the three scopes below:
– Email: request the email claim for the signed in user;
– OpenID: request use of the OpenID Connect authorization protocol;
– Profile: Request profile related claims for the signed user.
After selecting those, you can click OK button!
After all these steps you can hit the OK button once more and we are good to go. We’ve had just setup ADFS to secure Web API accessed with Angular that will be discussed in another post.
A really useful book that helped can be found in Amazon, it is Modern Authentication Azure Active directory for Web Applications:
References:
Docs Microsoft
CloudIdentity

Thank you very wel for your fine tutuo.